Introduction
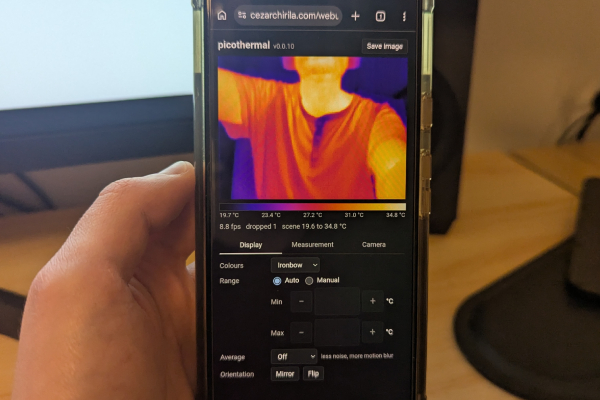
After designing my first thermal camera project, and subsequently upgrading its sensor to MLX90640, I realised I was still missing some features. I wanted a larger screen, better battery and more thermal pixels. Therefore, picothermal was born.
For a better image quality, the (costly) decision was to use one of Flir’s sensors, specifically the Flir Lepton 3.5 which I got from Mouser, which is a huge jump from 24x32 pixels (For the MLX90640) to 160x120.
I then realised that the easiest way to get a larger screen and a better battery, while at the same time making the device more portable, is to use USB-C and then use a PC or a phone. This is what all the affordable thermal cameras on Aliexpress do (and Flir One). But there was one thing I didn’t like about this, I like to design projects that have an extremely long life, and being tied to an app meant that I would need to maintain it if I didn’t want the device to become obsolete. Some cameras use UVC to get around this, which essentially allows the thermal camera to operate as webcams, and then use various tricks to send the radiometric data (absolute temperature of pixels) alongside the color. I decided to use WebUSB for no particular reason except that I thought it would be easier to control the camera (UVC has some extensions that allows this, so I might be wrong about this) and the fact that Embassy supports it. The main disadvantage is that Firefox doesn’t support WebUSB, but on my Android phone I don’t think I can even uninstall Chrome, so it’s a compromise I’m willing to live with. I can always add UVC support later.
Hardware
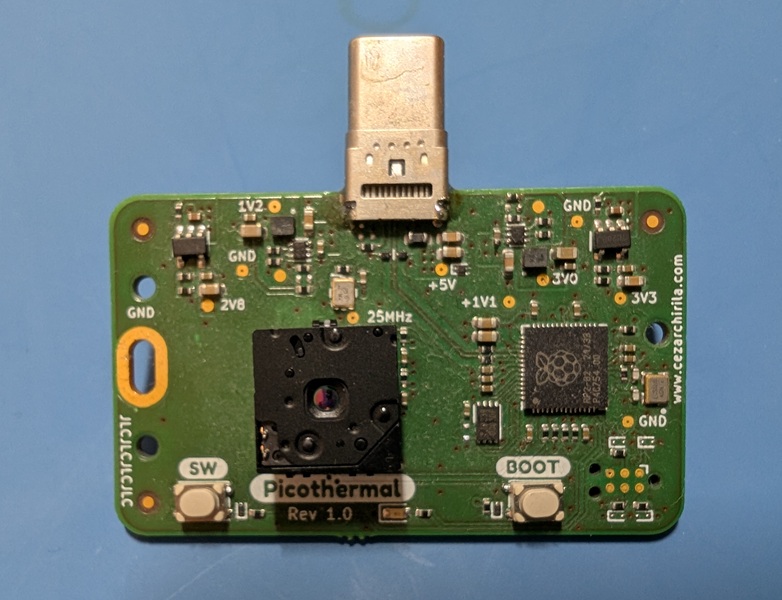
The hardware itself is actually extremely simple. First, I selected a RP2040 microcontroller (I build this before the RP2350 was released), although I should have probably used an STM32 that supports USB2.0, instead of being stuck on USB1.1. Then a USB-C connector, a buck converter to do the 5V -> 3V3 conversion and a few LDOs for the other rails that the uC and the sensor require and just some other misc components. No battery, no charge controller, no microSD, everything needed is already present on the phone. You can see the schematic below, courtesy of Kicanvas.
I ordered the boards from Aisler (1.6mm thickness) and JLCPCB (0.8mm thickness) and ended up using the Aisler ones as they were easier to solder and sturdier, even though the USB-C connector was made for 0.8mm.
Firmware
I did the hardware in 2023, and then I abandoned the project because life happened and I was stuck debugging the TinyUSB stack. At this time I was actually thinking of using UVC and not WebUSB.
However, since I already bought the sensor and build the hardware, I decided to give it another go now, in 2026, this time by using agents. As much as I’d like to take credit, I didn’t actually write any of the firmware and Claude did a good job building the firmware using Rust and Embassy. I think it’s a bit overengineered using both cores of the microcontroller, but in the end it works without any hiccups so I can’t complain. Of course it’s not maintainable, but apart from adding a UVC option and actually using the spare button for something, there’s not much that is needed.
I do feel guilty / lazy since I never got to finish the firmware (and the web app) by hand, but at the same time I don’t think I would have had the time to do it in the form that it currently is. Take this as you wish.
Conclusion
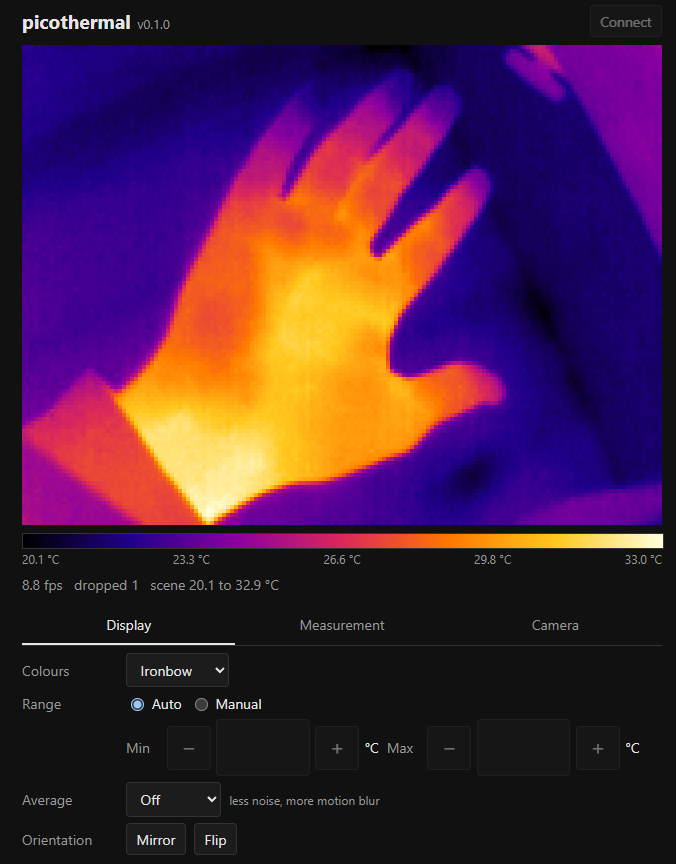
I can now connect the camera to my Android phone, open the WebUSB landing page in Chrome (sigh..) and the camera just works. I’m pretty happy with the end result and I’ll probably be using this for many years, as long as WebUSB is still supported.
Everything is on my Github as usual (see the links at the start of the page), if you have any troubles replicating this, let me know.
Enjoy!